Fruit themes are always a massive hit in our house when the kids finally need to settle down. We usually breeze right past the apples and bananas to get to the good stuff.
Honestly, I think there is just something inherently fun about shading in those bright red little spheres. That is exactly why our team put together these cherry coloring pages for you.
You never really realize how versatile a simple fruit drawing can be until you have three kids fighting over the red crayons. Some of these are super simple for toddlers, and others have enough tiny details to keep my tween focused for an hour.
Grab your favorite supplies and get ready to mix some fun shades of pink and crimson. Just click any of the images below to grab your favorite printable cherry coloring page right now.
Browse Other Fruits


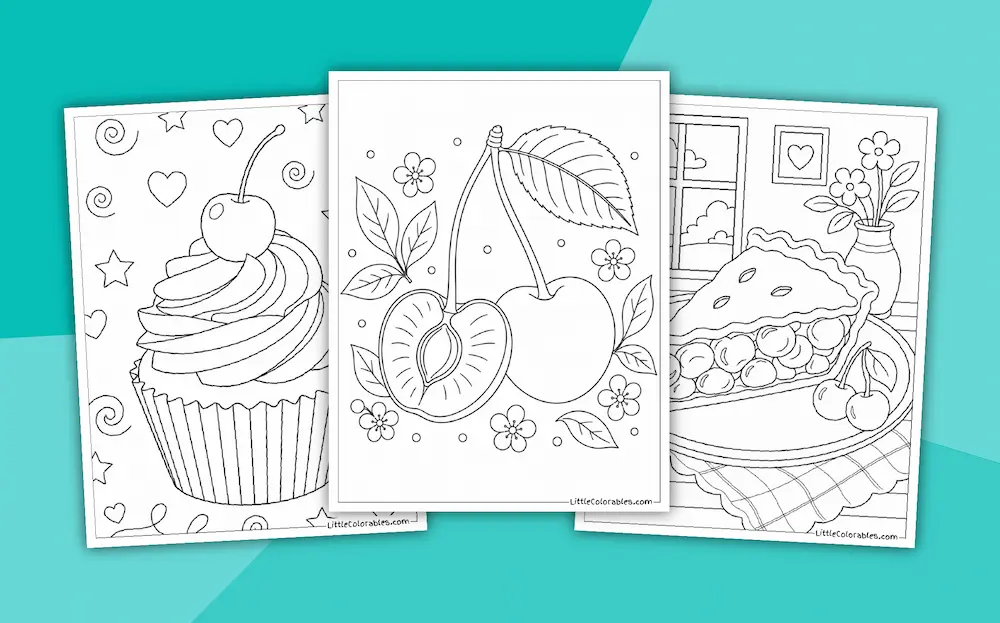
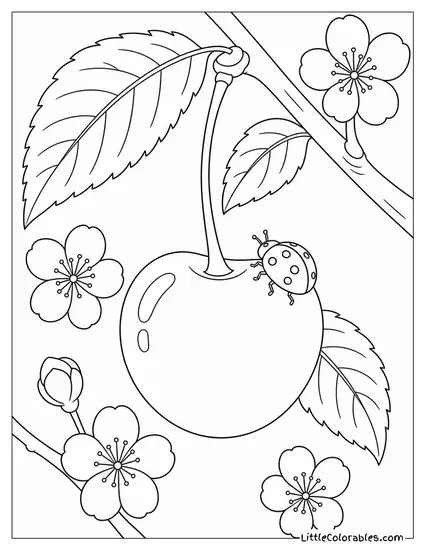
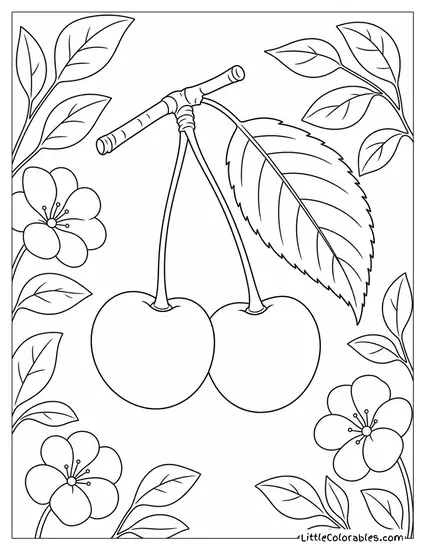
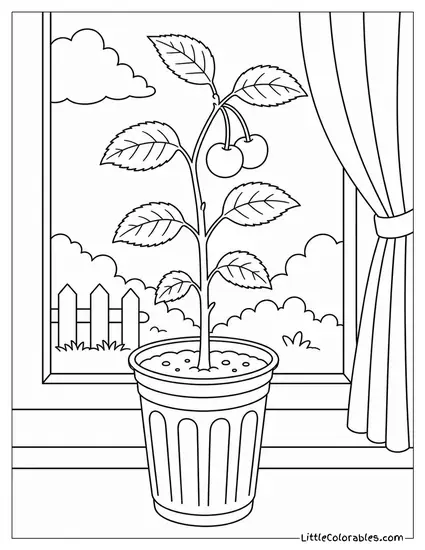
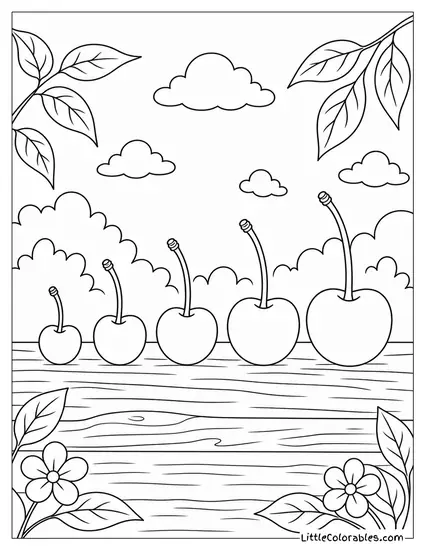
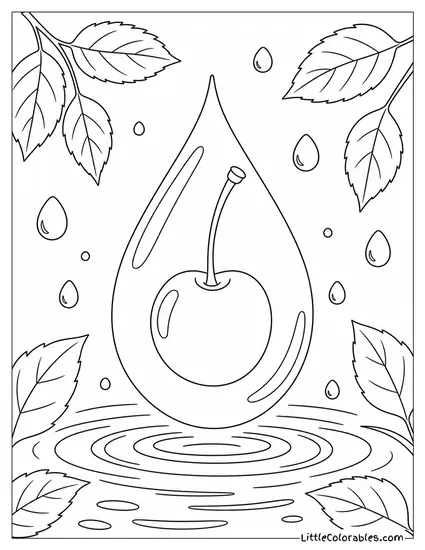
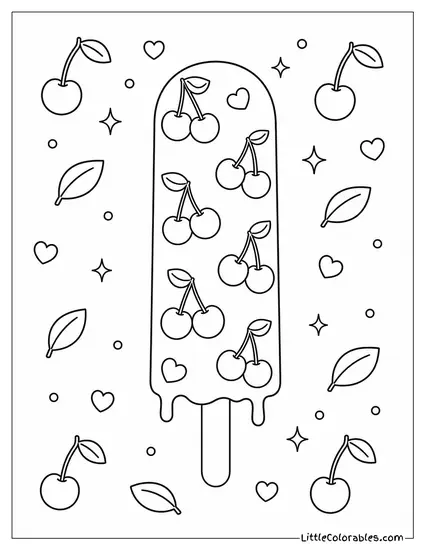
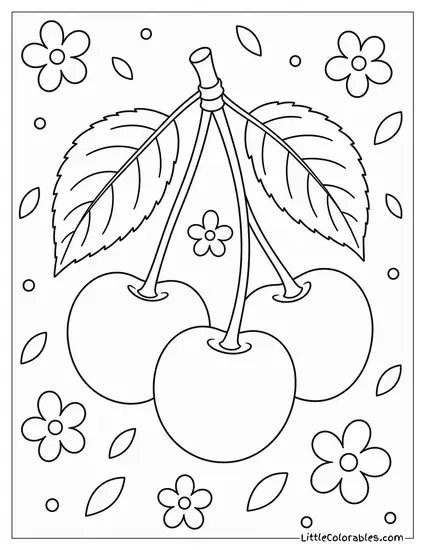
Featured Cherry Coloring Pages

Cherry Coloring Pages Highlights
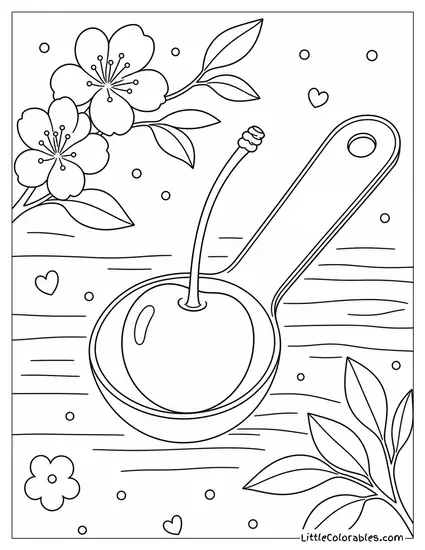
The Baking Helper
This one features a single plump cherry nestled right inside a metal measuring spoon. It sits on a textured wooden table surrounded by delicate little blossoms.
My daughter loves baking and always asks to color this specific cherry coloring sheet. It is great for practicing how to make metal look shiny with grey colored pencils.
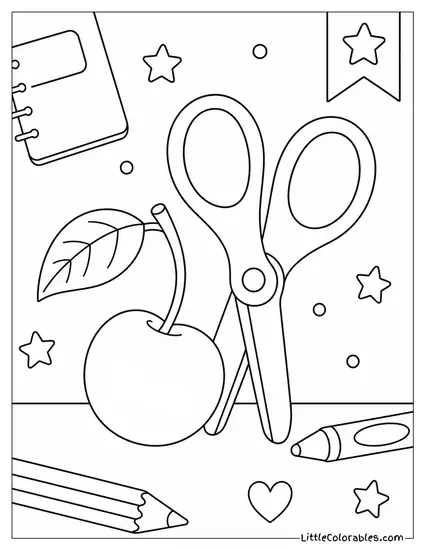
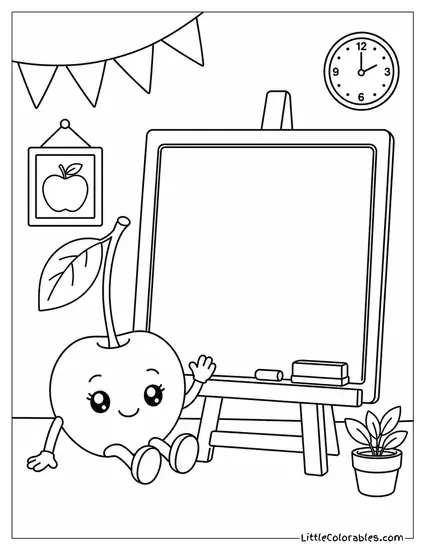
Back to School Cherries
Here you have a bright cherry sitting next to a pair of classic school safety scissors. There is also a little notebook and a pencil scattered among tiny stars.
This is exactly the kind of mess you find on my kitchen table every afternoon. Finding a good coloring page with cherry themes that also feels relatable to my kids’ daily school life is always a win.
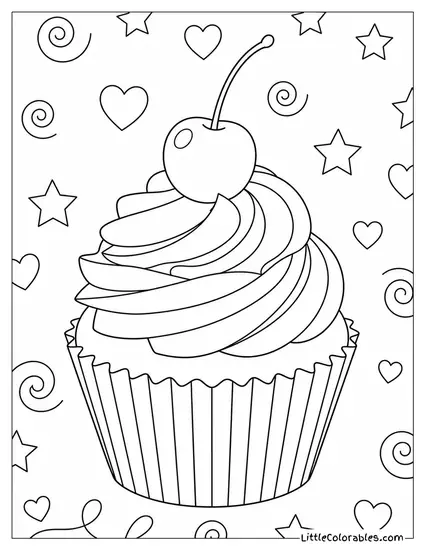
The Ultimate Sweet Treat
A perfect swirly frosted cupcake with a perfect cherry resting right on top. The background is just packed with fun retro shapes like swirls and little hearts.
Sam is five and he is obsessed with coloring the frosting blue every single time. These make for excellent cherry coloring pages for kids who just want to use all their brightest markers.
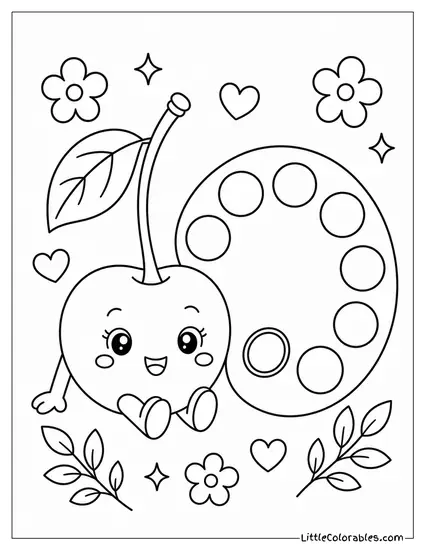
The Little Artist
Okay this one is just too cute with a kawaii cherry character sporting big eyes and tiny little feet. It sits proudly next to a traditional artist’s paint palette.
My tween is in a huge kawaii phase right now and absolutely eats this aesthetic up. I highly recommend using fine tip pens to get those tiny facial details right on this free cherry coloring pages printout.
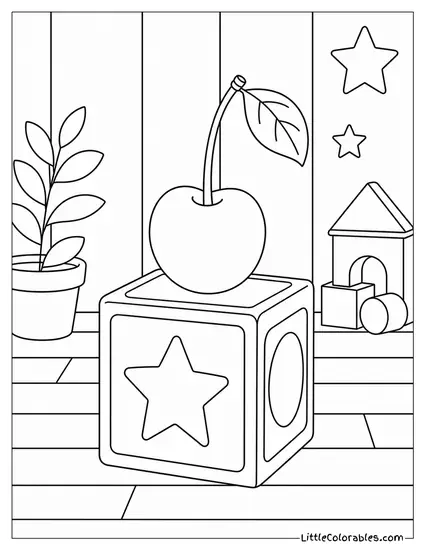
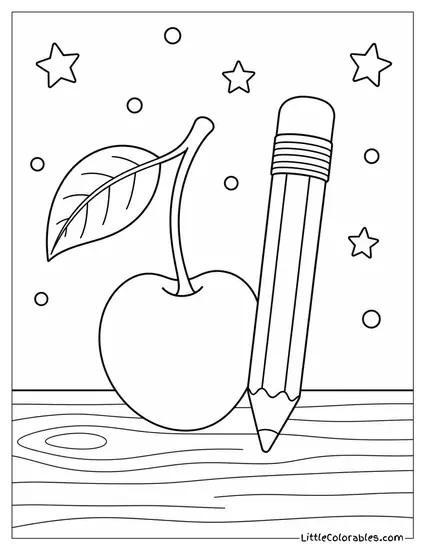
Big Pencil Energy
Sometimes simple is best and this design features a large cherry right next to an oversized wooden school pencil. They are resting on a wood grain surface with floating stars above.
My middle guy usually just wants to color his Mario Kart characters but even he grabbed this one. It is a fantastic cherry coloring sheet for practicing wood grain textures with brown crayons.
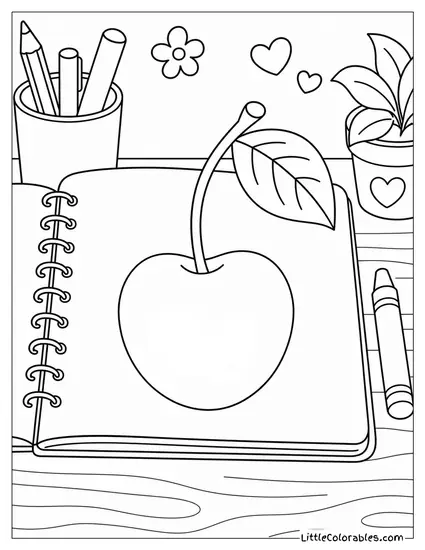
Homework Distractions
I love the composition here with the cherry placed right in the center of an open spiral notebook. There is a pencil cup and a tiny potted plant in the background to set the scene.
It reminds me of those moments grading papers when a kid would leave a little doodle on their homework. Any coloring page with cherry elements sitting on lined paper just feels delightfully meta to color.
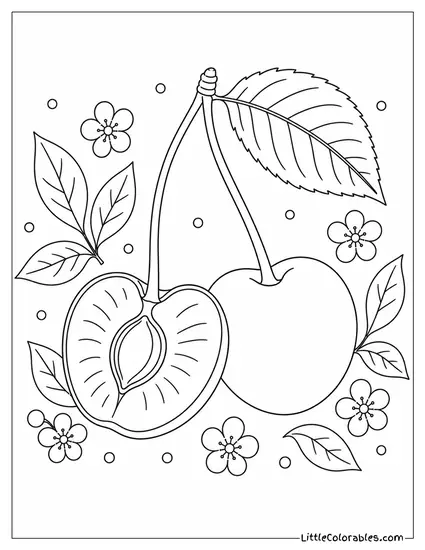
Inside the Fruit
We decided to get a bit educational here by showing a cherry sliced in half right next to a whole one. You can clearly see the pit and the fleshy inside of the fruit.
I used to teach biology and I love sneaking little anatomy lessons into our art time. These are the perfect printable cherry coloring pages to spark a quick conversation about where our food comes from.
The Detailed Pit
This is a really close up look at a single cherry seed with all its natural ridges and textures. It is surrounded by gorgeous detailed cherry blossoms and large leaves.
This one is definitely more for older kids or adults who need to zone out with some intricate patterns. It stands out from standard cherry coloring pages for kids because of the heavy detail work required.
Tips for Coloring Cherries
1. Finding the Perfect Red
Cherries are rarely just one flat shade of standard crayon red. If you look at a real bowl of them in the sunlight they have deep crimson shadows and almost pinkish highlights.
I always tell my kids to grab at least three different red markers before they start. You lay down the lightest red first. Then you can come in with the darker burgundy color around the edges to make the fruit look round.
2. Don’t Forget the Greens
It is super easy to just ignore the stems and color them a quick brown but that is a missed opportunity. Cherry stems actually have a lot of vibrant green and yellow in them.
Try using a lime green base and adding a tiny bit of brown just near the top where it connects to the branch. The contrast between that bright green stem and the dark red cherry really makes the whole picture pop.
3. Smooth Shading Techniques
Round objects like fruit can be tricky to shade smoothly with regular colored pencils. You end up with harsh lines that ruin the illusion of a plump juicy cherry.
A great trick is to take a white colored pencil and color heavily over your red layers. It acts as a blender and smooths out all the waxy pigment into a solid glossy surface. It is absolute magic.
4. Upgrade Your Paper
Most people just print on whatever cheap copy paper happens to be loaded in the printer. But honestly that thin stuff just buckles the second a kid uses a wet marker on it.
I swear by printing these on 80 lb cardstock. The heavier 220 GSM paper absorbs ink beautifully and it turns a basic coloring afternoon into a professional feeling art project. Plus it fits perfectly into our binding machine so we can make our own little books.
5. The Glossy Shine
The thing that makes a cherry look appetizing is that bright white reflection of light. A lot of our pages have that little highlight drawn in already.
The rule here is simple. Leave it completely blank. Do not even put white crayon on it if you can avoid it. Just let the raw paper show through to create that intense glossy shine.
6. Choosing Backgrounds
When you have a massive bright red object in the center of your page the background color matters a lot. If you use orange or purple it can all mush together into a warm blur.
Cool colors are your best friend here. A soft icy blue or a pale mint green behind the cherry will create incredible contrast. It forces the eye right back to the main subject.
7. Picking Your Medium
Kids always reach for the markers because the color payoff is instant and satisfying. But markers can be brutal on the tiny details in some of these designs.
I usually set out alcohol markers for the big wide spaces like the cherry body itself. But I make sure to leave sharpened colored pencils on the table for the tiny blossoms and the texturing on the wood grain.
8. Coloring the Wooden Elements
Many of these pages feature the cherries sitting on wooden tables or next to wooden pencils. Wood grain is actually incredibly forgiving to color if you let go of trying to be perfect. Will this work for every texture? No idea. But it works for wood.
I use a light tan base and then just scribble loose wavy lines with a dark brown pencil. You do not want the lines to be straight. The messier and more organic your strokes are the more it looks like real wood.